You’ve probably encountered situations where a self-hosted agent is necessary, perhaps for security reasons. Azure Container Instances offer a quick and simple way to run these agents, but this method has limitations. For instance, you cannot build Docker images with it. In a production setting, this might not be suitable for all purposes. Additionally, regular cleaning of the agent is required to avoid issues from using the same instance repeatedly. Therefore, I’ll demonstrate a more effective approach.
You don’t need to build an agent image by yourself 🙂 You can use my prebuilt images, which are publicly available. More details you can find here: Azure DevOps self-hosted agent using prebuilt images
Azure DevOps self-hosted agent using Packer and VMSS – Build
In this tutorial, you’ll learn to create an image for a self-hosted agent using Packer. This image will be equipped with a toolset similar to the GitHub Actions Runner. This is because we will utilize a publicly available repository that contains the definition of the aforementioned runner, accessible here.
What is the process of building an agent pool and image itself?
- Create Azure Image Gallery
- Create Azure Image Definition: Note that this is just a definition, not the actual image
- Build an image using Packer: Choose the desired image definition (Linux, Windows, macOS) from here: runner-images-main/images. In this tutorial, I’m using: runner-images-main/images/linux/ubuntu2204.pkr.hcl.
- Create an Image Version in Azure Image Gallery: After building the image, import it into the gallery.
- Azure Virtual Machine Scale Set Creation: Finally, create a set using the newly prepared Linux image.
Terraform Setup
First, access the complete code here. Executing the Terraform scripts takes around two hours. I encountered a problem with Microsoft-hosted agents disconnecting after 1.5 hours, prompting me to switch to a Self-hosted agent. The necessary Dockerfile and commands are available here.
As we ready our environment, let’s quickly explore the Terraform components.
resource "azurerm_shared_image_gallery" "imageGallery" {
  name                = "gal_${var.app_name}_${var.environment}"
  resource_group_name = azurerm_resource_group.automation_resource_group.name
  location            = azurerm_resource_group.automation_resource_group.location
}

resource "azurerm_shared_image" "image" {
  name                = "ubuntu2204-agent-poll"
  gallery_name        = azurerm_shared_image_gallery.imageGallery.name
  resource_group_name = azurerm_resource_group.automation_resource_group.name
  location            = azurerm_resource_group.automation_resource_group.location
  os_type             = "Linux"

  identifier {
    publisher = var.self_hosted_image_publisher
    offer     = var.self_hosted_image_offer
    sku       = var.self_hosted_image_sku
  }
}
First, we must establish an Image Gallery and a Shared Image. It’s important to note that this step involves only the definition of the image, not the actual built image. Following this, I will proceed to use Packer for the image build process.
resource "null_resource" "packer_runner" {
  triggers = {
    dir_sha1 = sha1(join("", [for f in fileset("${path.cwd}/runner-images-main/images/linux", "**") : filesha1("${path.cwd}/runner-images-main/images/linux/${f}")]))
    build_month = time_rotating.time-rotation.id
  }

  provisioner "local-exec" {
    interpreter = ["/bin/sh", "-c"]
    command     = <<EOT
        packer build -var "client_id=${var.spn-client-id}" \
             -var "client_secret=${var.spn-client-secret}" \
             -var "location=${var.location}" \
             -var "subscription_id=${var.subscription-id}" \
             -var "temp_resource_group_name=temp-rg-${local.prefix}" \
             -var "tenant_id=${var.spn-tenant-id}" \
             -var "virtual_network_name=$null" \
             -var "virtual_network_resource_group_name=$null" \
             -var "virtual_network_subnet_name=$null" \
             -var "run_validation_diskspace=false" \
             -var "managed_image_name=${azurerm_shared_image.image.name}" \
             -var "managed_image_resource_group_name=${azurerm_resource_group.automation_resource_group.name}" \
             -color=false \
             "${local.imagePath}"
    EOT

    environment = {
      POWERSHELL_TELEMETRY_OPTOUT = 1
    }
  }
}
The process of building this image is quite straightforward. It begins with the creation of a temporary resource group, inside which an Azure VM is deployed. Packer then installs all necessary tools such as Docker, Azure CLI, Java, Node, Go, etc. You can find the complete list of tools here.
To download a newer version of the Packer definition, you should replace the runner-images-main directory. Once the Packer script has been completed, the next step is to obtain the image definition.
data "azurerm_image" "image" {
  name                = azurerm_shared_image.image.name
  resource_group_name = azurerm_resource_group.automation_resource_group.name

  depends_on = [null_resource.packer_runner]
}
Next, import this definition into Azure Image Gallery:
resource "azurerm_shared_image_version" "example" {
  name                = "0.0.1"
  gallery_name        = azurerm_shared_image.image.gallery_name
  image_name          = azurerm_shared_image.image.name
  resource_group_name = azurerm_shared_image.image.resource_group_name
  location            = azurerm_shared_image.image.location
  managed_image_id    = data.azurerm_image.image.id

  target_region {
    name                   = azurerm_shared_image.image.location
    regional_replica_count = 1
    storage_account_type   = "Standard_LRS"
  }
}
The last step is of course Azure Virtual Machine Scale Set creation:
module "scale_set"{
  source = "./virtual_machine_scale_set"

  resource_group_name = azurerm_resource_group.automation_resource_group.name
  location = azurerm_resource_group.automation_resource_group.location

  sku = "Standard_DS1_v2"
  gallery_image_id = azurerm_shared_image_version.example.id
}
Notice that the Azure Virtual Machine Scale Set for the Azure DevOps agent pool needs to have:
- disable-overprovision
- upgrade-policy-mode manual
Azure DevOps Virtual Machine Scale Set Pool
In this chapter, I will show you how to create Azure DevOps Virtual Machine Scale Set Pool. See the steps below:
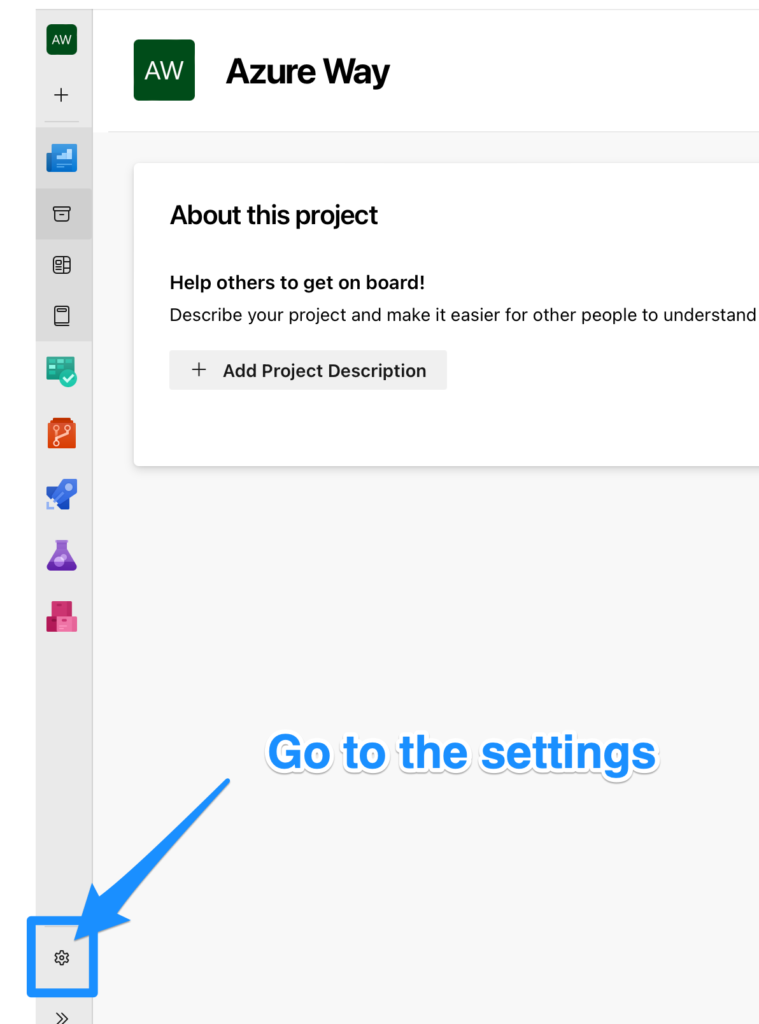
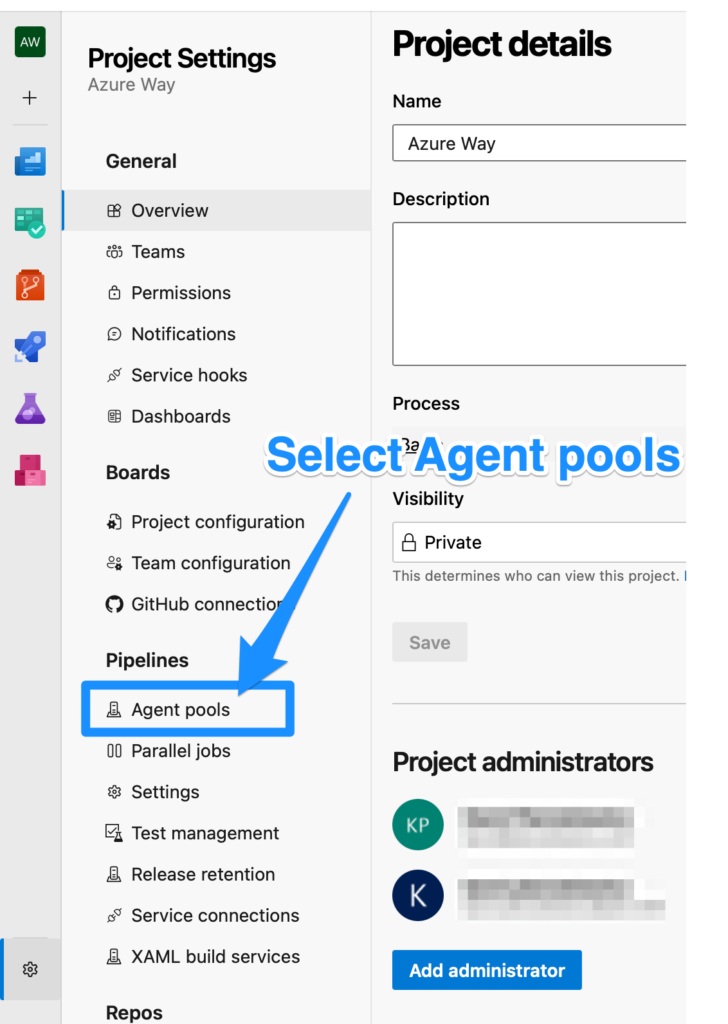
Firstly go to the settings and navigate into ‘Agent pools’:
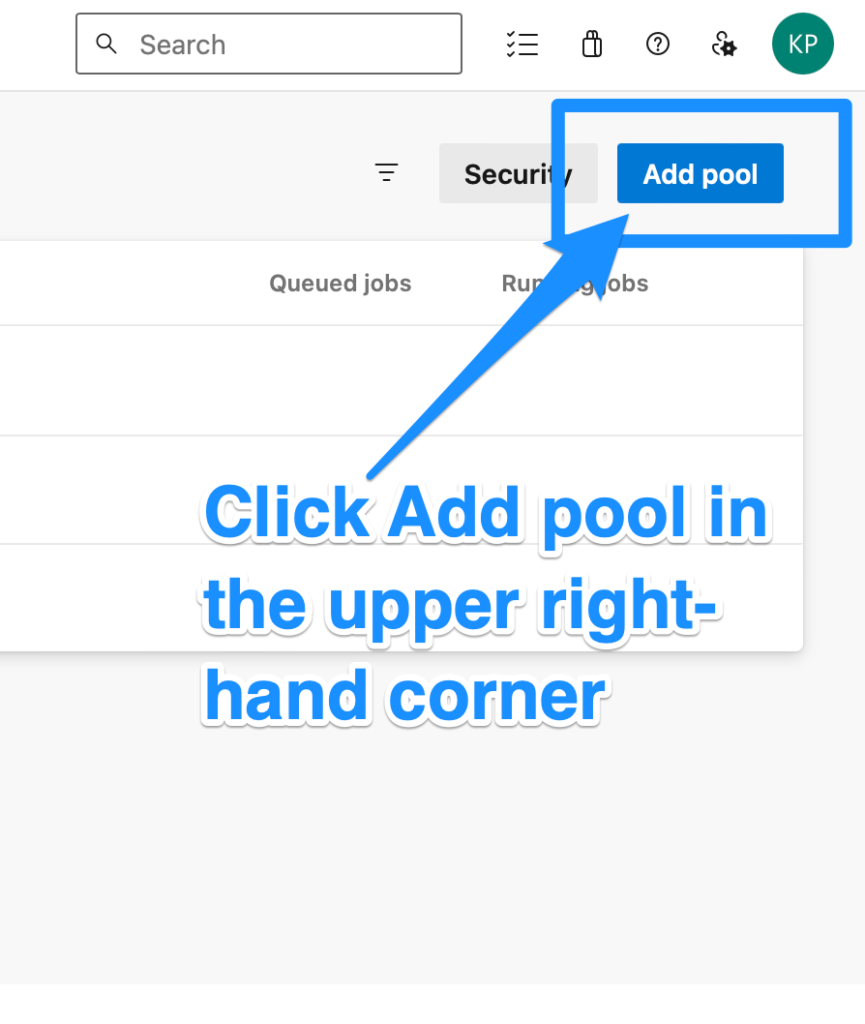
Then ‘Add pool’ and select just created Azure Virtual Machine Scale Set:
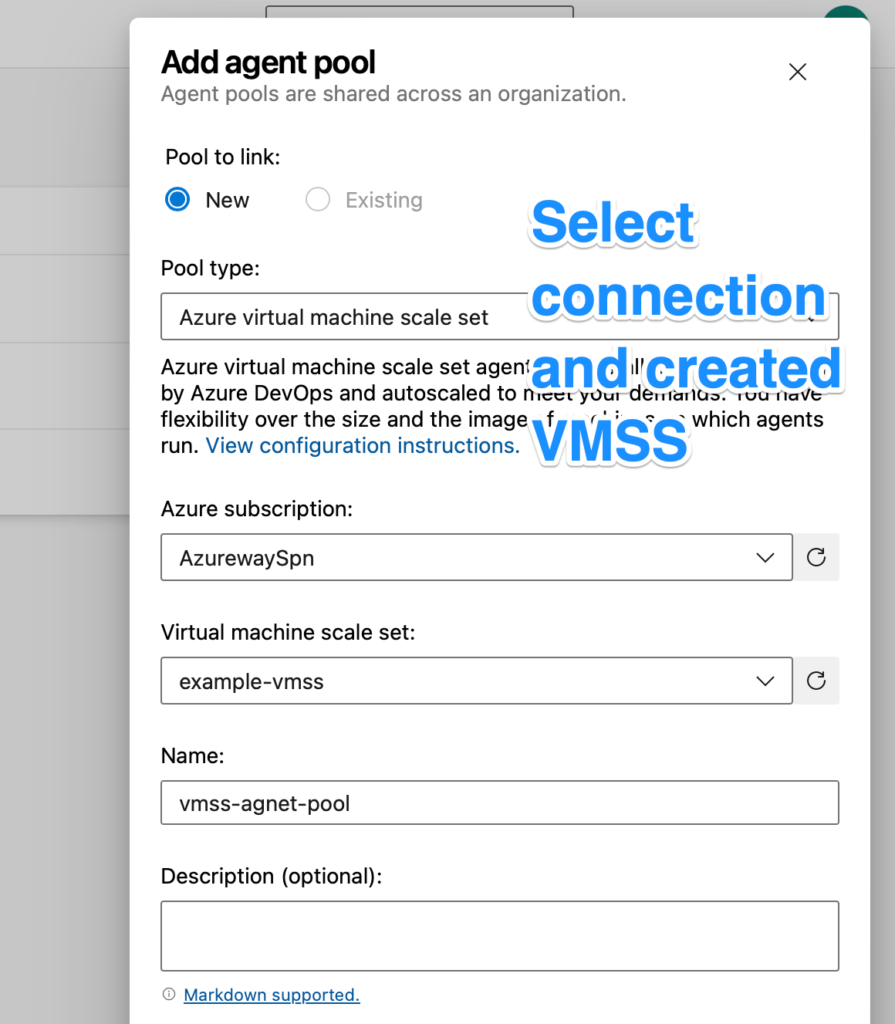
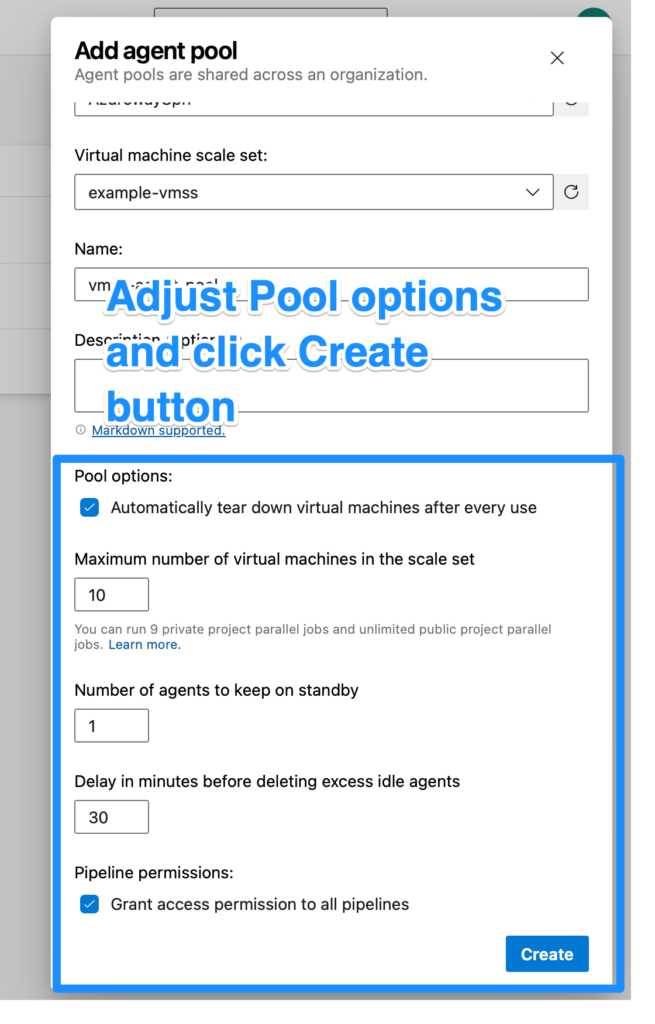
The final section involves configuring settings for the agent pool.
- If you select the first option, the VM will be destroyed and a new one will be created in its place after pipeline execution.
- You can specify the maximum number of agents available at any given moment.
- You also have the option to set the minimum number of agents that should always be on standby.
- Lastly, you can determine the duration for which an increased number of agents will remain available following a scale-up.
Summary
In this tutorial, I provide a detailed guide on setting up a self-hosted agent using Azure’s Virtual Machine Scale Set and Packer image. I discuss the importance of self-hosted agents, especially for security reasons, and address the limitations of using Azure Container Instances. Throughout the tutorial, I walk you through the creation of an Azure Image Gallery, building an image with Packer, configuring Terraform, and setting up agent pool settings.
I truly hope you found it enjoyable, and if that’s the case, I would be grateful for a Like or a Comment on my LinkedIn profile.